Iris Identification
Made Easy and Enjoyable
Have you just received a fairly large
shipment of new irises for your garden? You no
doubt are eager to plant them as soon as possible.
The names are printed on the leaves and you have
already prepared the bed where you will plant them.
The next step, the actual planting of your irises, is an
important one. Just taking your plants and putting
them in the prepared ground is not too difficult, but
if you want your iris to remain in place for several
years it is important to know what you are putting
where.
Look carefully at your iris selections and determine
their heights and colors. These two characteristics
are most important when planting. Smaller irises
should be planted in the front rows, and irises with
the same color patterns should be planted at least
several rows apart. Some irises tend to spread out,
and planting irises with the same color patterns too
close together can present an identification problem
years down the road. Planting them in rows is a good
method to help keep them organized and less likely
to lose their identity over the years.
Now that you have planted your irises, it is important
to label them—necessary, if you want to be
confident in identifying them. The first and most important
step in the labeling process is to look at each
iris name as printed on the leaves, proceed down
the rows, and write down their names in the order
in which they were planted. This is your iris “map,”
which shows the names of the irises and where they
are located. After you have your map completed you
may not wish to go any further in the process. However,
each additional step will further enhance the
enjoyment of your garden.
The next step, inserting identification markers
next to your plants, will make the garden more interesting
not only to yourself but also to guests who will
be intrigued by the various names of the irises (our
grandchildren particularly enjoy them). I no longer
use this method extensively, since the sun fades the
print on the plastic markers, squirrels break them,
and the markers heave out of the ground if left in
over the winter.
Carrying the map out into the beds to identify
the plants didn’t really enhance the interest of my
garden, either. The map was just a list of names, and
I needed more than this. After a few years, in some
cases, I wasn’t sure the irises in the garden were
actually in the same place as their position on the
map. What I needed was a visual aid to identify my
plants. This is where the iris wiki encyclopedia’s photos
came to my aid. I made an additional map of the
plants using a spreadsheet, and, using this as a guide,
developed a picture map, which I could now carry to
the garden to readily identify my plants.
Knowing the names of your irises makes them
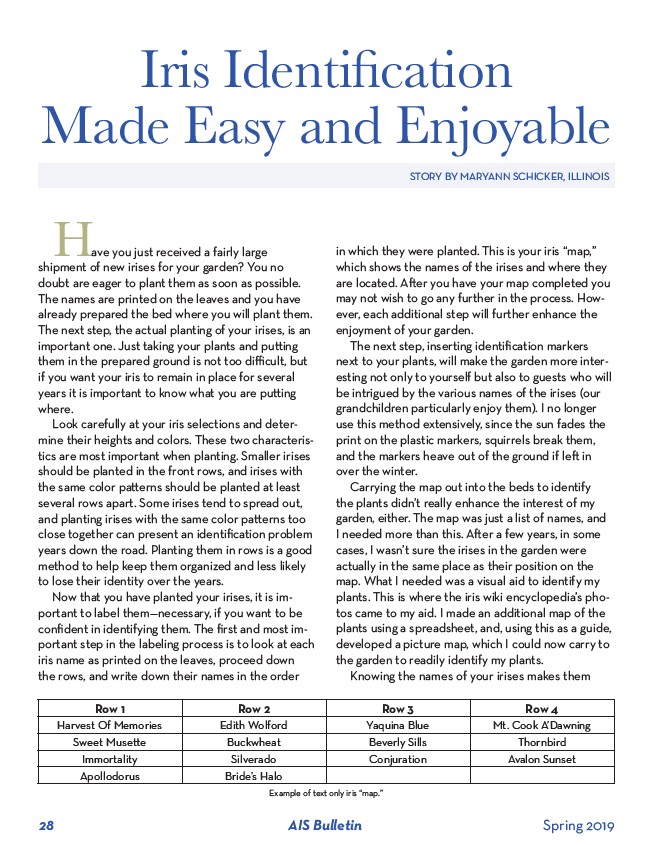
Row 1 Row 2 Row 3 Row 4
Harvest Of Memories Edith Wolford Yaquina Blue Mt. Cook A’Dawning
Sweet Musette Buckwheat Beverly Sills Thornbird
Immortality Silverado Conjuration Avalon Sunset
Apollodorus Bride’s Halo
Example of text only iris “map.”
STORY BY MARYANN SCHICKER, ILLINOIS
28 AIS Bulletin Spring 2019